


1. Setup the project
As a starting point, you should install npm on your device. If it is already installed, so good for you. If not, you can use this tutorial to install it. (Remember that Hardhat suggests using Node.js version 12 to 16. Although it works on version 18 as I used)
Then, we create a directory for our project.
mkdir awesome_contract && cd $_
Follow these commands to initialize the npm and install the Hardhat plugin.
npm init

npm install --save-dev hardhat@2.9.9

npx hardhat

Your Node.js project should now have the hardhat library if everything went smoothly.
2. Install Hardhat-deploy
This hardhat plugin adds a mechanism to deploy contracts to any network, keeping track of them and replicating the same environment for testing.
You can easily install it with this simple command.
npm install -D hardhat-deploy

One last thing to do is to import hardhat-deploy in the hardhat.config.ts file.
import "hardhat-deploy";

3.Get the API keys and private key for the deployment
- Etherscan
The first API key that you need to get is for the Etherscan. Go here and create an account for yourself.
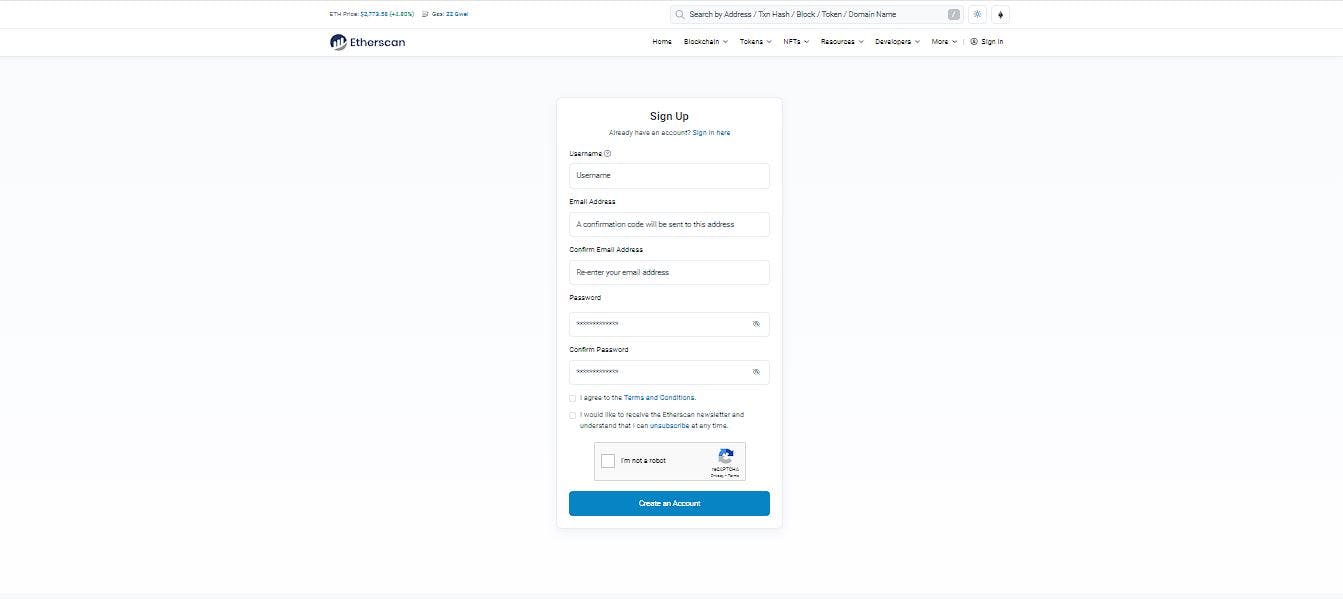
Then go to the API keys section and create a new API key.

Now that you have the API key, save it somewhere for yourself because we are going to use it soon.
2. Infura
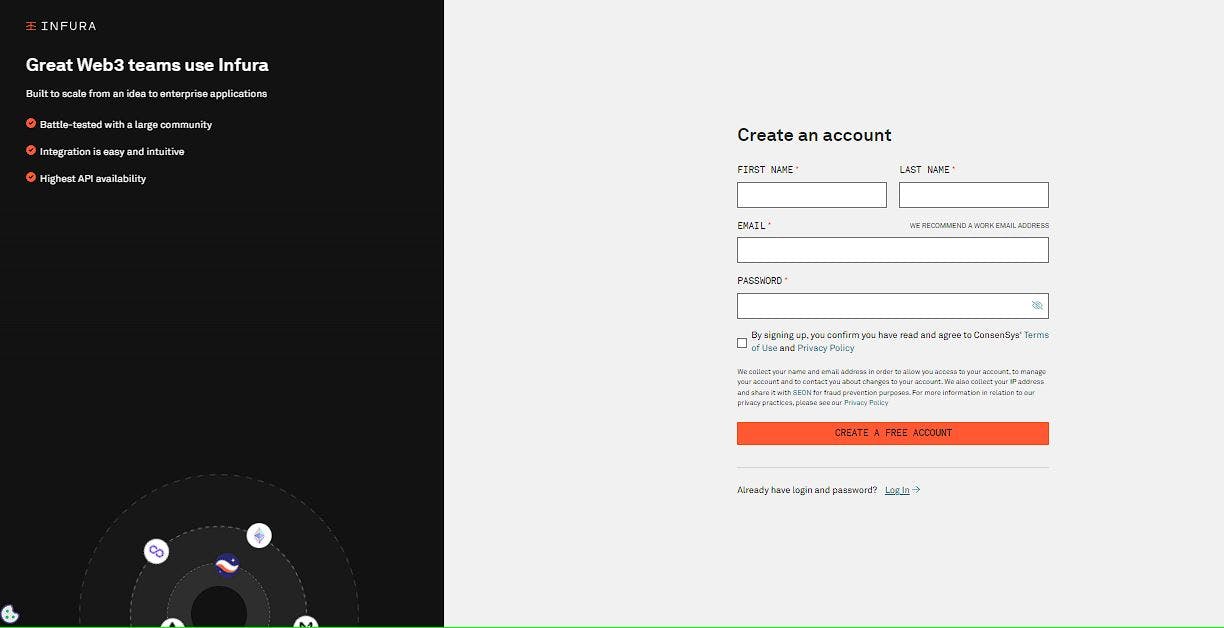
When we write our contracts, we need to test them before we deploy them to the mainnet. One of the popular testnet is the Ropsten. Infura gives us access to this testnet. So we need to create an account and take access to the Ropsten testnet. First, you need to go here and create an account.
Then go to your dashboard and create a new key.

Once you create it, go to the key page. Change the network endpoint to Ropsten and save the URL for later.

3. MetaMask
The last thing to do is that you should create a test wallet and export its private key (Don’t use your main wallet here cause it leads to loss of properties).
You can use MetaMask on almost anything, here we use the Brave (Yes, it’s better than Chrome) extension.

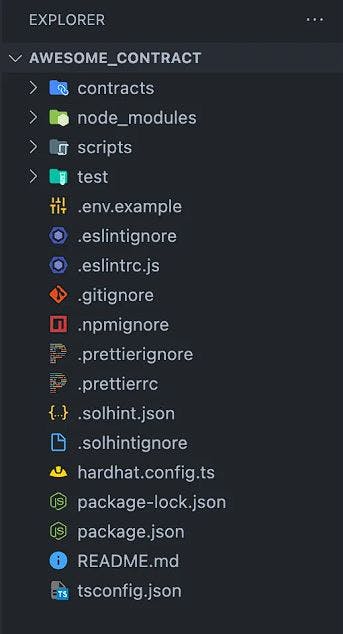
So now we got what we need. Go to the main directory of the project. Rename the .env.example file into .env. Fill the environment variables with the ones that you got from the above steps.

4.Writing the script
Currently, there is a simple contract called Greeter.sol in the contracts folder. Let’s ignore that and write a simple ERC20 token. There are many implementations for the ERC20 token, but here we use the OpenZeppelin’s.
OpenZeppelin is a framework that provides blockchain standards to help you write secure smart contracts. Here, we’re gonna add its contracts to our project and then use them in our smart contract.
npm install --save @openzeppelin/contracts

After the installation, you can find the contracts in the node_modules directory.
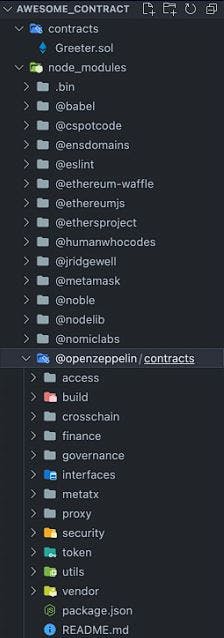
Now that everything is ready, create a new file in the contracts folder (here calling it SimpleToken.sol) and start writing the contract.
// SPDX-License-Identifier: MIT

pragma solidity ^0.8.0;

import "@openzeppelin/contracts/token/ERC20/ERC20.sol";

contract SimpleToken is ERC20 {
    address public owner;
    struct Minter {
        bool canMint;
        uint256 allowance;
    }
    mapping(address => Minter) private minters;

    modifier onlyOwner() {
        require(msg.sender == owner, "Caller is not the owner.");
        _;
    }

    modifier onlyMinters() {
        require(minters[msg.sender].canMint == true, "Only minters can call this function");
        _;
    }

    constructor(
       string memory name,
       string memory symbol,
       uint256 initialSupply
   ) ERC20(name, symbol) {
        owner = msg.sender;
        minters[owner].canMint = true;
        _mint(msg.sender, initialSupply);
   }

   function mint(address account, uint256 amount) public onlyMinters {
       require(msg.sender == owner || minters[msg.sender].allowance >= amount, "You don't have allowance to mint this much.");
        _mint(account, amount);
        minters[msg.sender].allowance -= amount;
    }
    function addMinter(address minterAddress, uint256 allowance) public onlyOwner {
        require(minters[minterAddress].canMint == false, "This minter is already exists.");
        minters[minterAddress].canMint = true;
        minters[minterAddress].allowance = allowance;
    }
    function removeMinter(address minterAddress) public onlyOwner {
        require(minterAddress != owner, "Owner can't be removed from the minters.");
        require(minters[minterAddress].canMint == true, "This minter doesn't exist.");
        minters[minterAddress].canMint = false;
        minters[minterAddress].allowance = 0;
    }
    function setMintAllowance(address minterAddress, uint256 allowance) public onlyOwner {
        require(minters[minterAddress].canMint == true, "This minter doesn't exist.");
        minters[minterAddress].allowance = allowance;
    }
}
This is a simple ERC20 token I wrote. Other than basic token functionalities, I added one more. The owner of the contract can give allowance to anybody to mint the token. It’s not that hard, but it’s a good practice to advance your solidity skills.
You can compile the contracts with this command to see if there is anything wrong with your code.
npx hardhat compile
After that, you need to write a deploy script to send your contract to the blockchain.
Create a new file in the scripts directory (Let’s call it deployToken.ts). This is where you should know a little bit of TypeScript. It’s simple and don’t worry, we won’t use it that much.
// We require the Hardhat Runtime Environment explicitly here. This is optional
// but useful for running the script in a standalone fashion through `node <script>`.
//
// When running the script with `npx hardhat run <script>` you'll find the Hardhat
// Runtime Environment's members available in the global scope.
import { ethers } from "hardhat";

async function main() {
  // Hardhat always runs the compile task when running scripts with its command
  // line interface.
  //
  // If this script is run directly using `node` you may want to call compile
  // manually to make sure everything is compiled
  // await hre.run('compile');

  // We get the contract to deploy
  const SimpleToken = await ethers.getContractFactory("SimpleToken");
  const simpleToken = await SimpleToken.deploy("Awesome Mintable Token", "AMT", 100000);

  await simpleToken.deployed();

  console.log("Your token deployed to:", simpleToken.address);
}

// We recommend this pattern to be able to use async/await everywhere
// and properly handle errors.
main().catch((error) => {
  console.error(error);
  process.exitCode = 1;
});
The deployment script consists of 4 important parts (Line 17–22). First, we get the contract object. Second, we fill the contract’s constructor. Next, we wait until the contract sent to the blockchain and finally, we print the contract address in the console.
You can easily deploy the contract with this simple command.
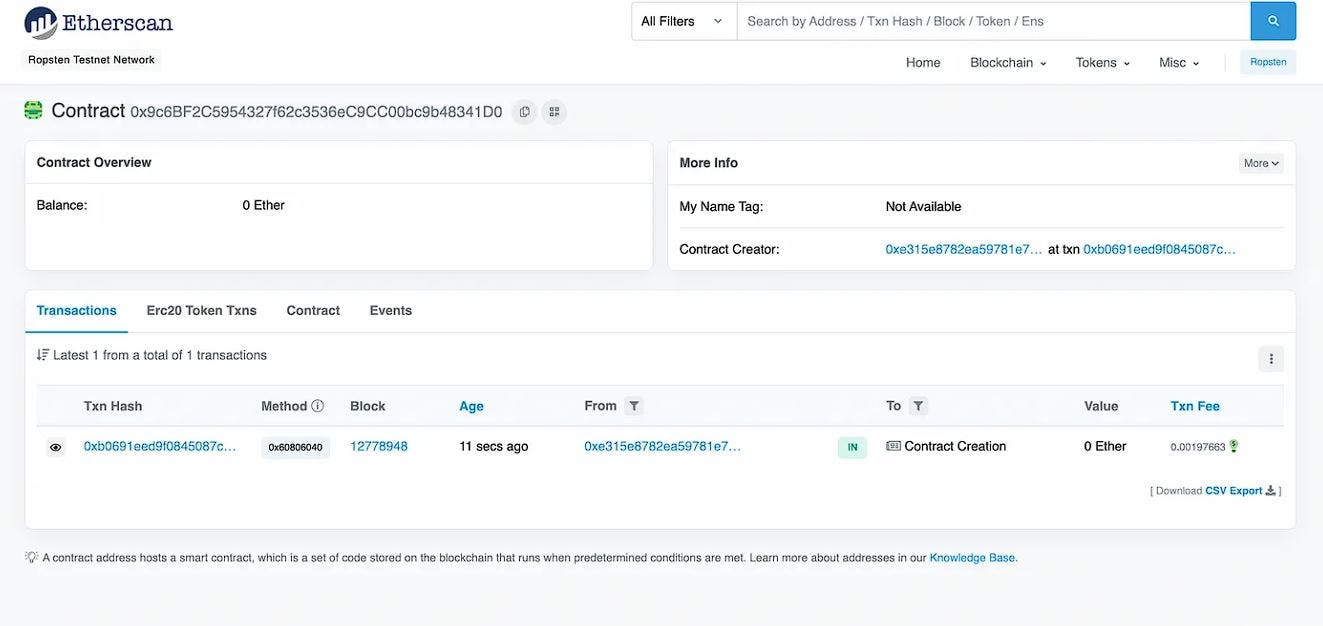
npx hardhat --network ropsten run scripts/deployToken.ts

As you can see, the contract is deployed to the Ropsten network and you can see it on the explorer.

5.Verifying the contract
Every contract that you send to the blockchain is unverified in the first place. The problem is that the contract is in ByteCode and people can’t see your code so they can’t trust you.
You can send your code to the blockchain and tell the explorers to show your code.
With the help of the Hardhat, it can simply be done by a single command. You just need the contract address plus the data that you used in the contract’s constructor to create it.
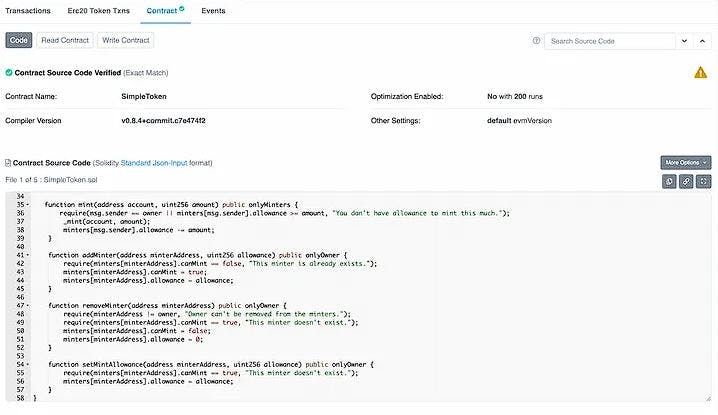
npx hardhat verify --network ropsten 0x9c6BF2C5954327f62c3536eC9CC00bc9b48341D0 "Awesome Mintable Token" "AMT" "100000"

It gives us the contract’s code in the explorer and when you go to the website, you can see your code that is verified and is public to read.
Thanks for reading. I hope you will try it out and learn something new. Also incase i have missed something feel free to share your thoughts and feedback.
To reach out to me 👀
Twitter 🖱
LinkedIn 🖱
Github 🖱