

Table of contents
- 1. Setting Up Your Project
- 2. Install Hardhat
- 3. Install Required Dependencies
- 4. Setting Alchemy App
- Step 1: Create an Alchemy Account
- Step 2: Create a New App
- Step 3: Note Your API Key and Endpoint
- Step 4: Integrate with Your Project
- Step 5: Test Your Setup
- 5. Adding custom network in Metamask
- 6. Configure Hardhat
- 7. Writing Your Smart Contract
- 8. Create a Deployment Script
- 9. Set Environment Variables
- 10. Deploy Your Contract
- 11. Verify and Test
- Important Security Note
Deploying a smart contract on the Polygon Mumbai test network using Hardhat and Alchemy involves several steps. Here’s a guide to get you started:
1. Setting Up Your Project
First, ensure you have Node.js installed. Then, initialize a new Node.js project if you haven’t already:
mkdir my-smart-contract-project
cd my-smart-contract-project
npm init -y
2. Install Hardhat
Install Hardhat in your project:
npm install --save-dev hardhat
Set up Hardhat in your project:
npx hardhat
3. Install Required Dependencies
Install OpenZeppelin and ethers.js, which are commonly used with Hardhat:
npm install @openzeppelin/contracts
npm install @nomiclabs/hardhat-ethers ethers
4. Setting Alchemy App
Set up your application on Alchemy

Setting up an application on Alchemy is a straightforward process. Alchemy is a blockchain developer platform that provides tools and services for building decentralized applications, primarily on Ethereum and other EVM-compatible networks. Here’s a step-by-step guide to setting up an app on Alchemy:
Step 1: Create an Alchemy Account
Visit the Alchemy Website: Go to Alchemy’s official website.
Sign Up: Click on the “Start for Free” or “Sign Up” button and follow the process to create an account. You’ll typically need to provide an email address and create a password.
Verify Email: Verify your email address if required.
Step 2: Create a New App
Log In to Your Alchemy Dashboard: Once your account is set up, log in to your Alchemy dashboard.
Create New App: Look for a button or link that says “Create App” or something similar.
Configure Your App:
Name Your App: Give your app a meaningful name that you’ll recognize.
Select a Blockchain: Choose the blockchain you want to work with (e.g., Ethereum).
Select a Network: Choose the network you want to deploy your app on. This could be a mainnet or a testnet (like Ropsten or Rinkeby for Ethereum, or Mumbai for Polygon).
Create App: Click the button to create your new app.
Step 3: Note Your API Key and Endpoint
API Key: Once your app is created, you’ll be given an API key. This key is important and allows your application to interact with the blockchain through Alchemy.
HTTP Endpoint: You’ll also see an HTTP endpoint. This is the URL your application will use to send RPC (Remote Procedure Call) requests to the blockchain via Alchemy.
Keep Them Secure: Make sure to keep your API key and endpoint secure and do not share them publicly.
Step 4: Integrate with Your Project
Add Alchemy to Your Project: In your blockchain project (e.g., a Hardhat or Truffle project), you can now use the Alchemy endpoint and API key.
Update Network Configuration: In your project’s configuration file (like
hardhat.config.jsortruffle-config.js), set the network details to use the Alchemy endpoint and your wallet's private key for deployment.Example for Hardhat:
require('dotenv').config();
const { ALCHEMY_API_KEY, PRIVATE_KEY } = process.env;

module.exports = {
  networks: {
    ropsten: {
      url: `https://eth-ropsten.alchemyapi.io/v2/${ALCHEMY_API_KEY}`,
      accounts: [`0x${PRIVATE_KEY}`]
    }
  },
  // Other configurations
};
Step 5: Test Your Setup
Compile and Deploy: Compile and deploy your smart contracts to the selected network using Alchemy.
Verify Connection: Make sure your application successfully connects to the blockchain through Alchemy.

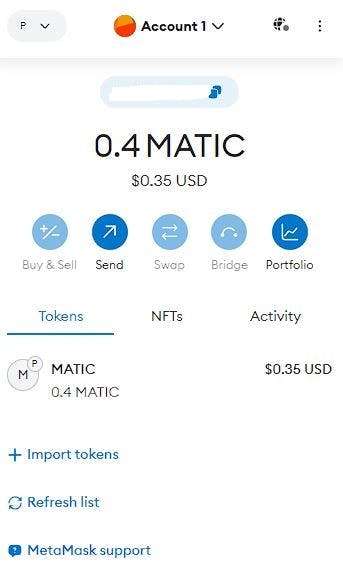
5. Adding custom network in Metamask
Add Network Selection on MetaMask:
Click on the MetaMask extension icon in your browser to open your MetaMask wallet.
At the top of the MetaMask interface, where the network is displayed (e.g., “Ethereum Mainnet”), click to open the network dropdown menu.
Add Custom RPC Network:
Scroll down in the dropdown and select “Add Network” or “Custom RPC”.
Enter Alchemy Network Details:
In the “Add a network” screen, you need to fill in the details for the Alchemy network you want to connect to. This includes:
Network Name: Enter a name for the network (e.g., “Alchemy Ethereum” or “Alchemy Polygon”).
New RPC URL: Enter the Alchemy RPC URL you obtained from your Alchemy dashboard. It looks something like
https://eth-mainnet.alchemyapi.io/v2/your-api-keyfor Ethereum or a similar URL for other networks like Polygon.Chain ID: Enter the chain ID for the network (e.g.,
1for Ethereum Mainnet,137for Polygon Mainnet,80001for Polygon Mumbai Testnet).Currency Symbol (optional): Enter the currency symbol (e.g.,
ETHfor Ethereum,MATICfor Polygon).Block Explorer URL (optional): Enter a block explorer URL (e.g.,
https://etherscan.iofor Ethereum,https://polygonscan.comfor Polygon).Click “Save” to add the network. MetaMask will automatically switch to this new network.
Your MetaMask is now connected to the blockchain via Alchemy’s nodes.
After you installed the extension, follow these steps to complete the wallet creation process.

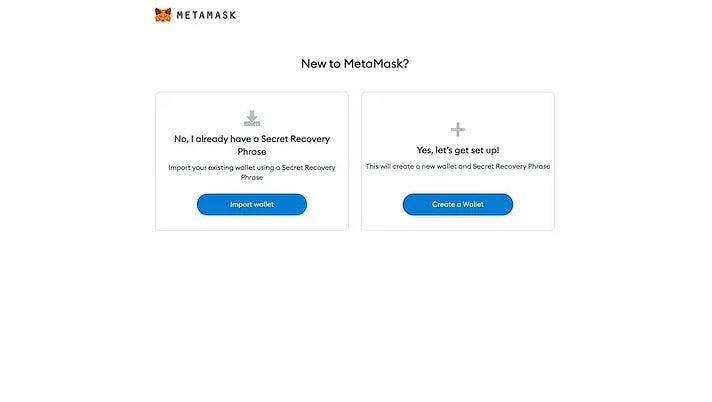
Hit Create a Wallet button to create a new one.


6. Configure Hardhat
Configure Hardhat to connect to the Mumbai test network. Open hardhat.config.js and add the Mumbai network configuration:
require("@nomiclabs/hardhat-ethers");
module.exports = {
  solidity: "0.8.4", // Or any other version
  networks: {
    polygon: {
      url: "https://polygon-mumbai.g.alchemy.com/v2/your-alchemy-api-key",
      accounts: [`0x${process.env.PRIVATE_KEY}`]
    }
  }
};
Replace your-alchemy-api-key with your Alchemy API key. Make sure to keep your private key and API key secure and do not expose them publicly.
7. Writing Your Smart Contract
Write your smart contract in Solidity. You can create a new file in the contracts directory. For example, MyContract.sol.
https://faucet.polygon.technology/
8. Create a Deployment Script
In the scripts directory, create a new script, e.g., deploy.js, to deploy your contract.
async function main() {
  const MyContract = await ethers.getContractFactory("MyContract");
  const myContract = await MyContract.deploy();
  await myContract.deployed();
  console.log("MyContract deployed to:", myContract.address);
}
main()
  .then(() => process.exit(0))
  .catch(error => {
    console.error(error);
    process.exit(1);
  });
Replace "MyContract" with the name of your contract.
9. Set Environment Variables
For security reasons, you should not hardcode your private key. You can use environment variables. Install dotenv:
npm install dotenv
Then, create a .env file in your project root and add your private key:
PRIVATE_KEY=your_private_key
Make sure to add .env to your .gitignore file to keep it secure.
10. Deploy Your Contract
Run the deployment script:
npx hardhat run scripts/deploy.js --network mumbai
This will compile your contract and deploy it to the Mumbai test network.
11. Verify and Test
After deployment, verify the contract on Mumbai’s block explorer and test it using Hardhat or directly on the blockchain.
Important Security Note
Never expose your private keys or API keys in your code, especially when pushing to public repositories.
Always test thoroughly on test networks before deploying to the mainnet.
That's all for this blog, I hope you will learn something new. And feel free to share your thoughts and feedback, Thanks for reading.
Feel free to reach out to me 👀
Twitter 🖱
LinkedIn 🖱
Github 🖱